Products#
The Products module in Gem Logic is a comprehensive tool designed to manage your jewelry inventory efficiently. Given the module’s extensive feature set, this guide is divided into two major chapters: List View and Product Detail View.
List View#
The List View chapter explores the features available for overseeing all your products at a glance.
1. Accessing the Products Module#
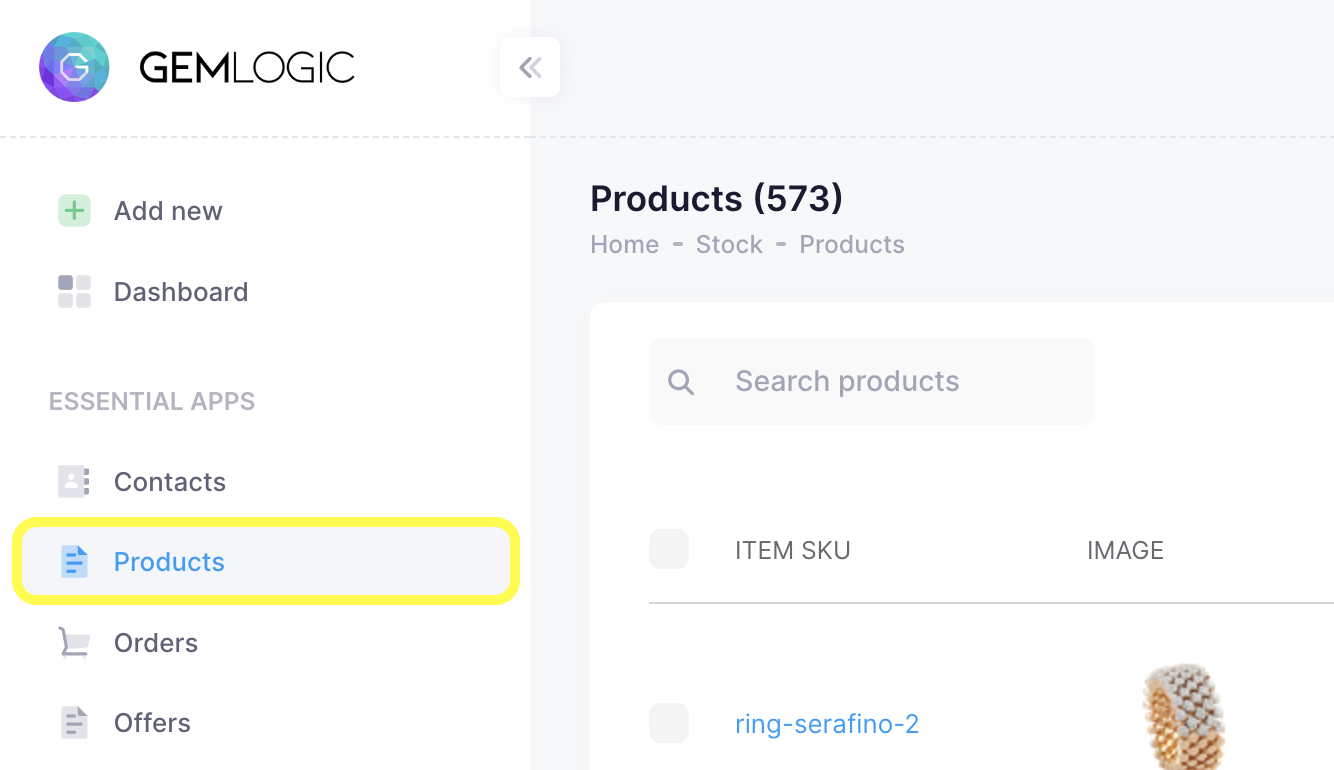
To access the Products module, click on the “Products” menu item in the main navigation menu.
2. List View Features#
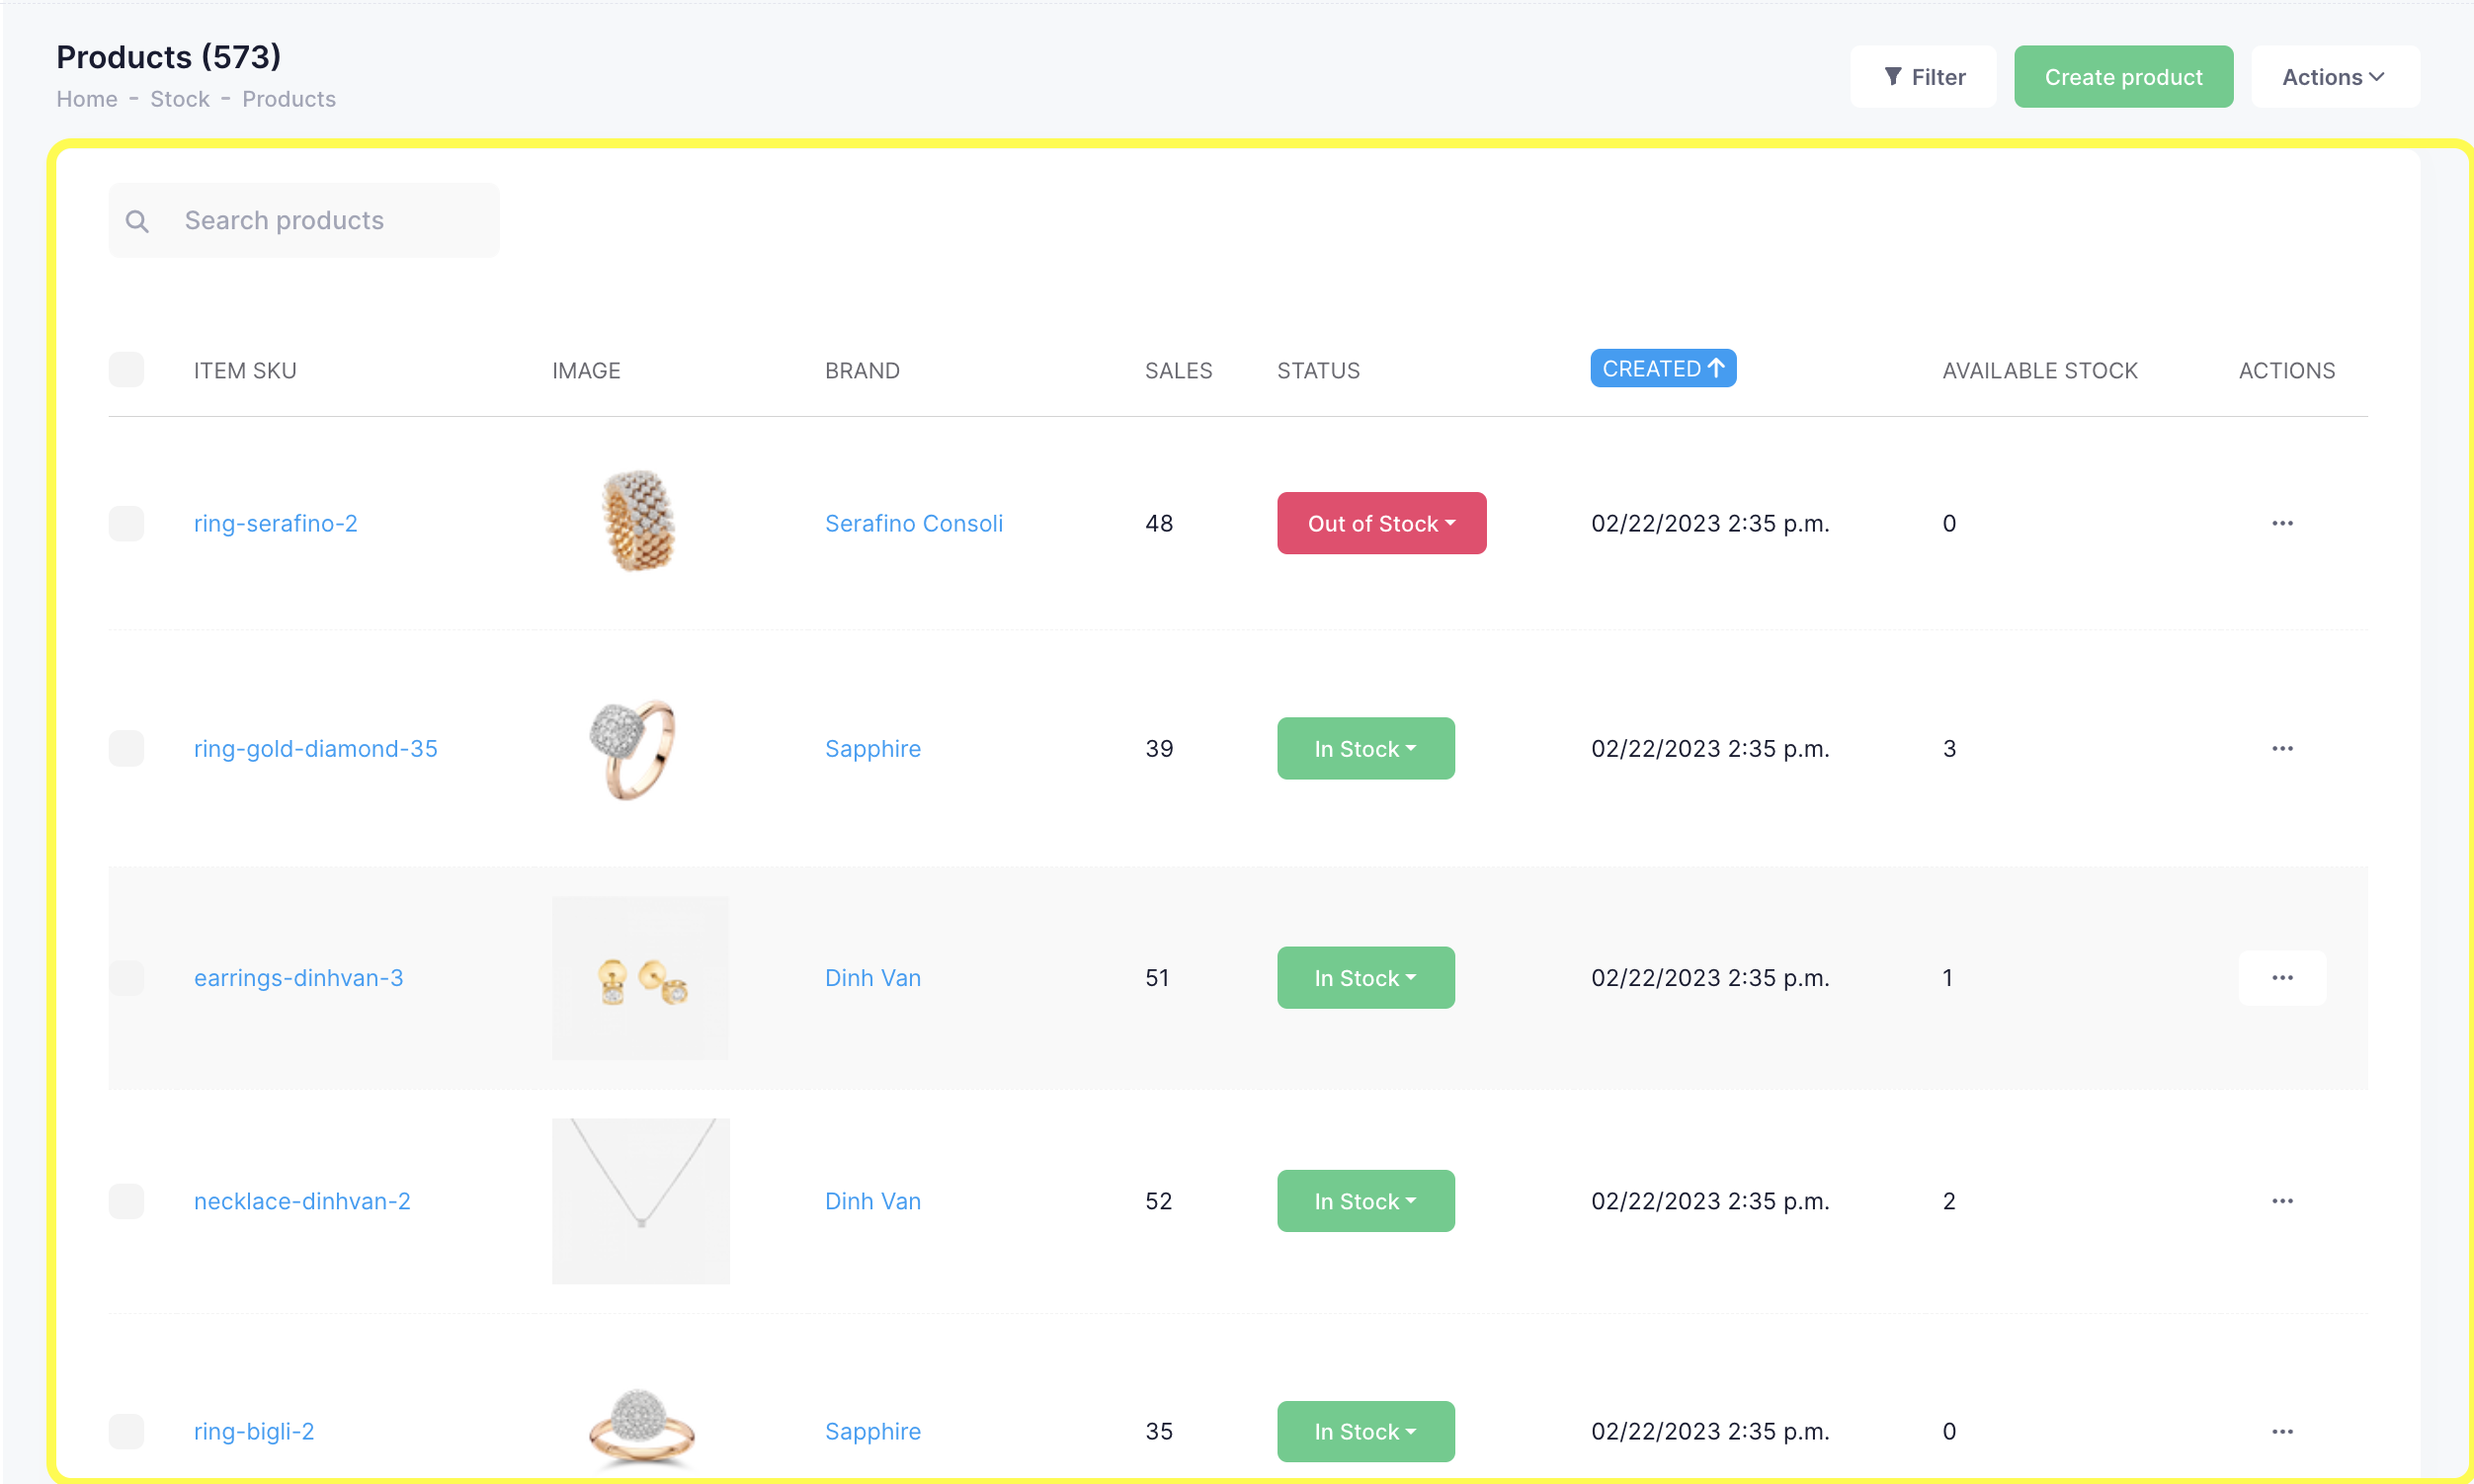
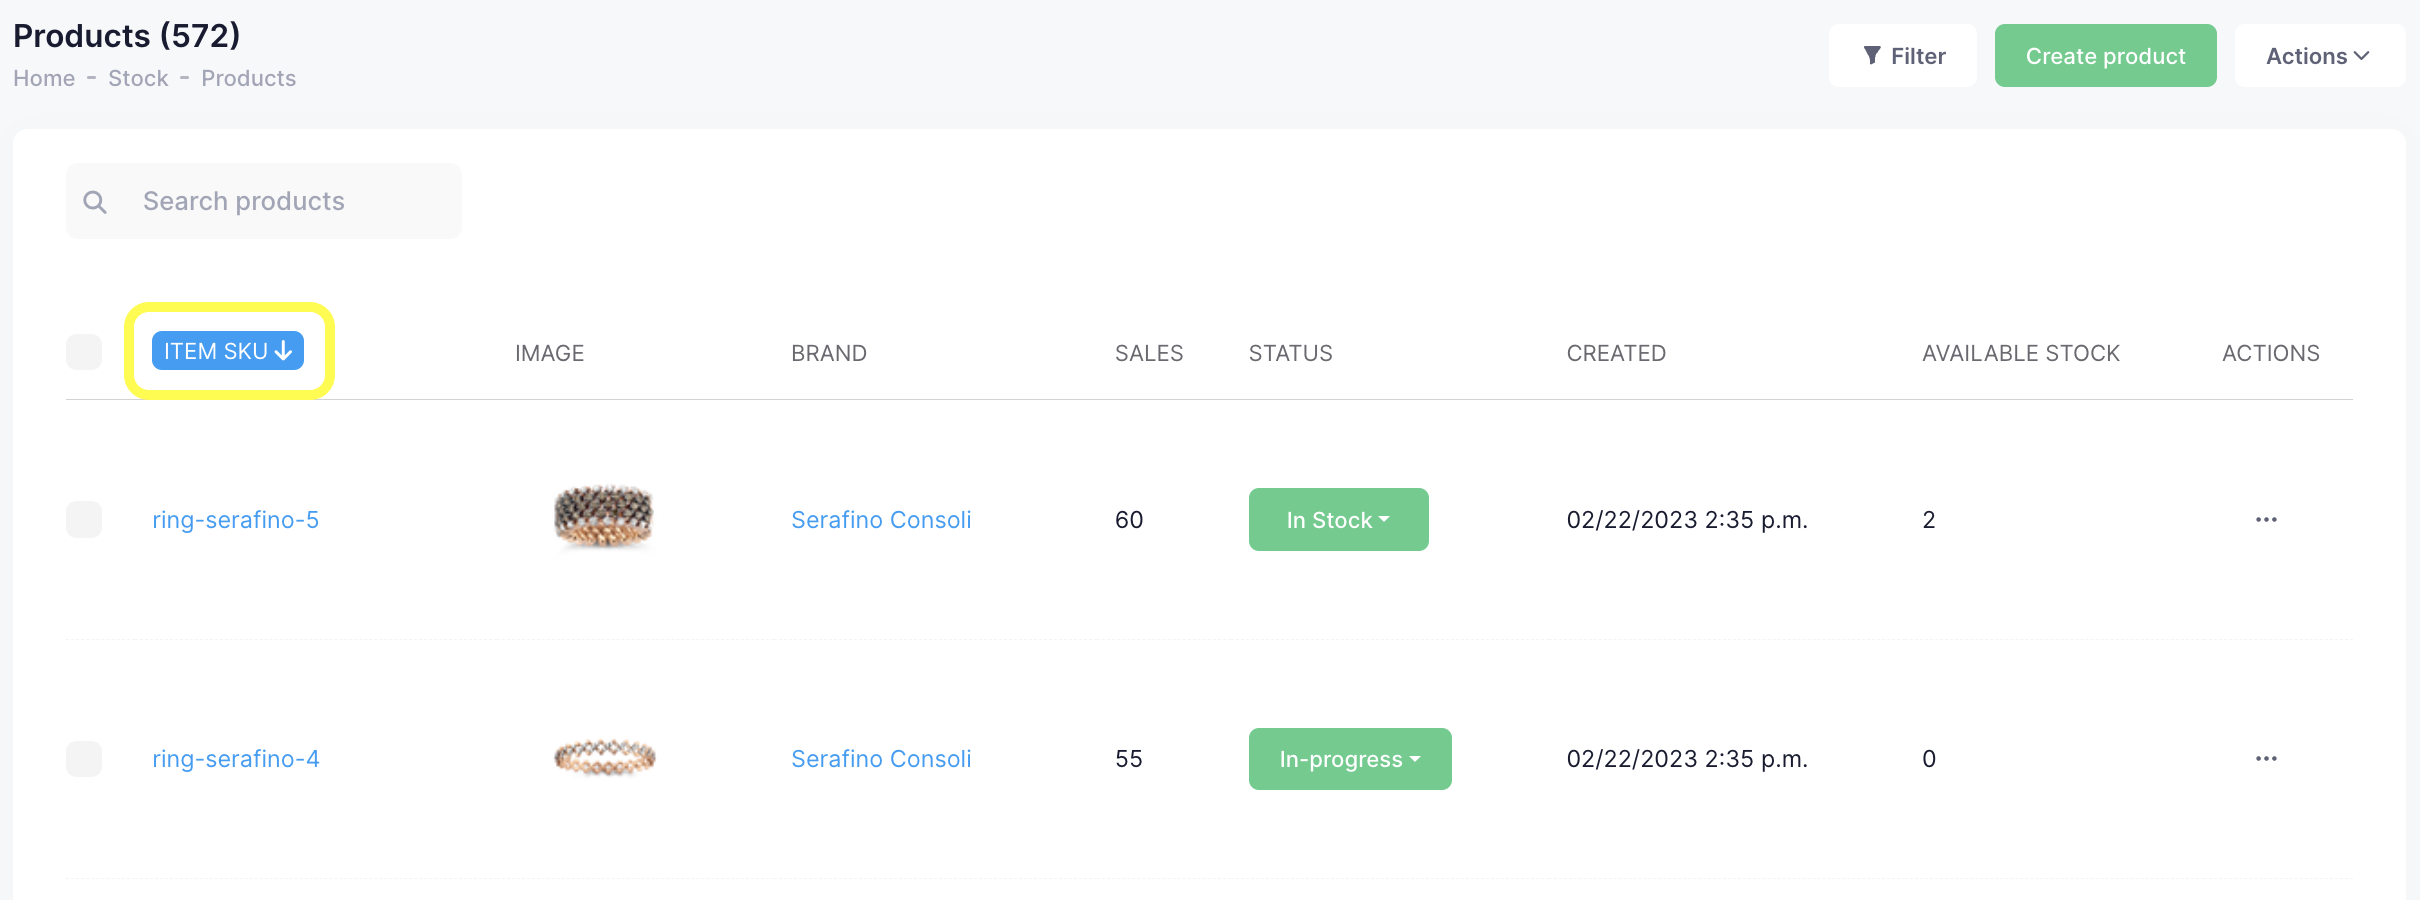
The List View provides you with an overview of all the products, with important information displayed in columns such as SKU, Image, Brand, Sales, Status, Created Date, and Available Stock. Those are displayed by default. You can add/remove information through the table settings button, read more information in the “5. Customizing Table Columns” section.
1. Search and Filter#
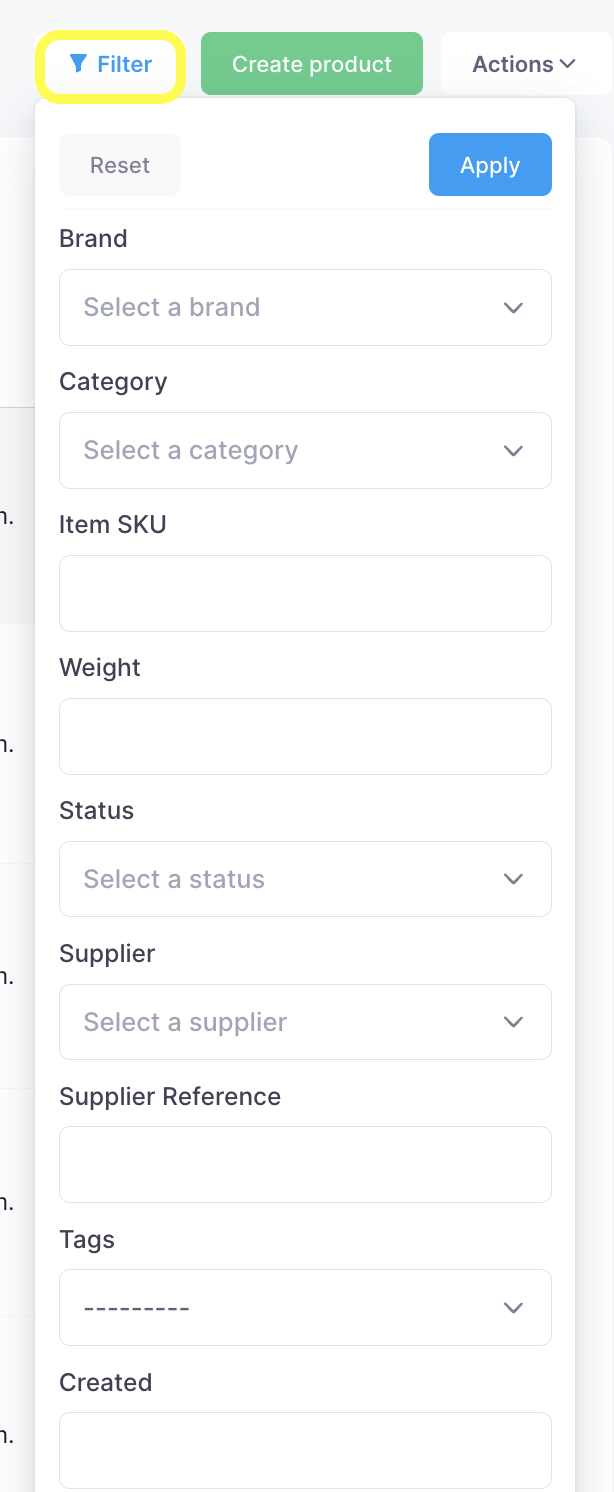
You can quickly find specific products by using the search bar or apply various filters like brand, status, and stock availability.
1. Sorting#
By clicking on the column headers, you can sort the products based on the selected field.
1. Customizing Table Columns#
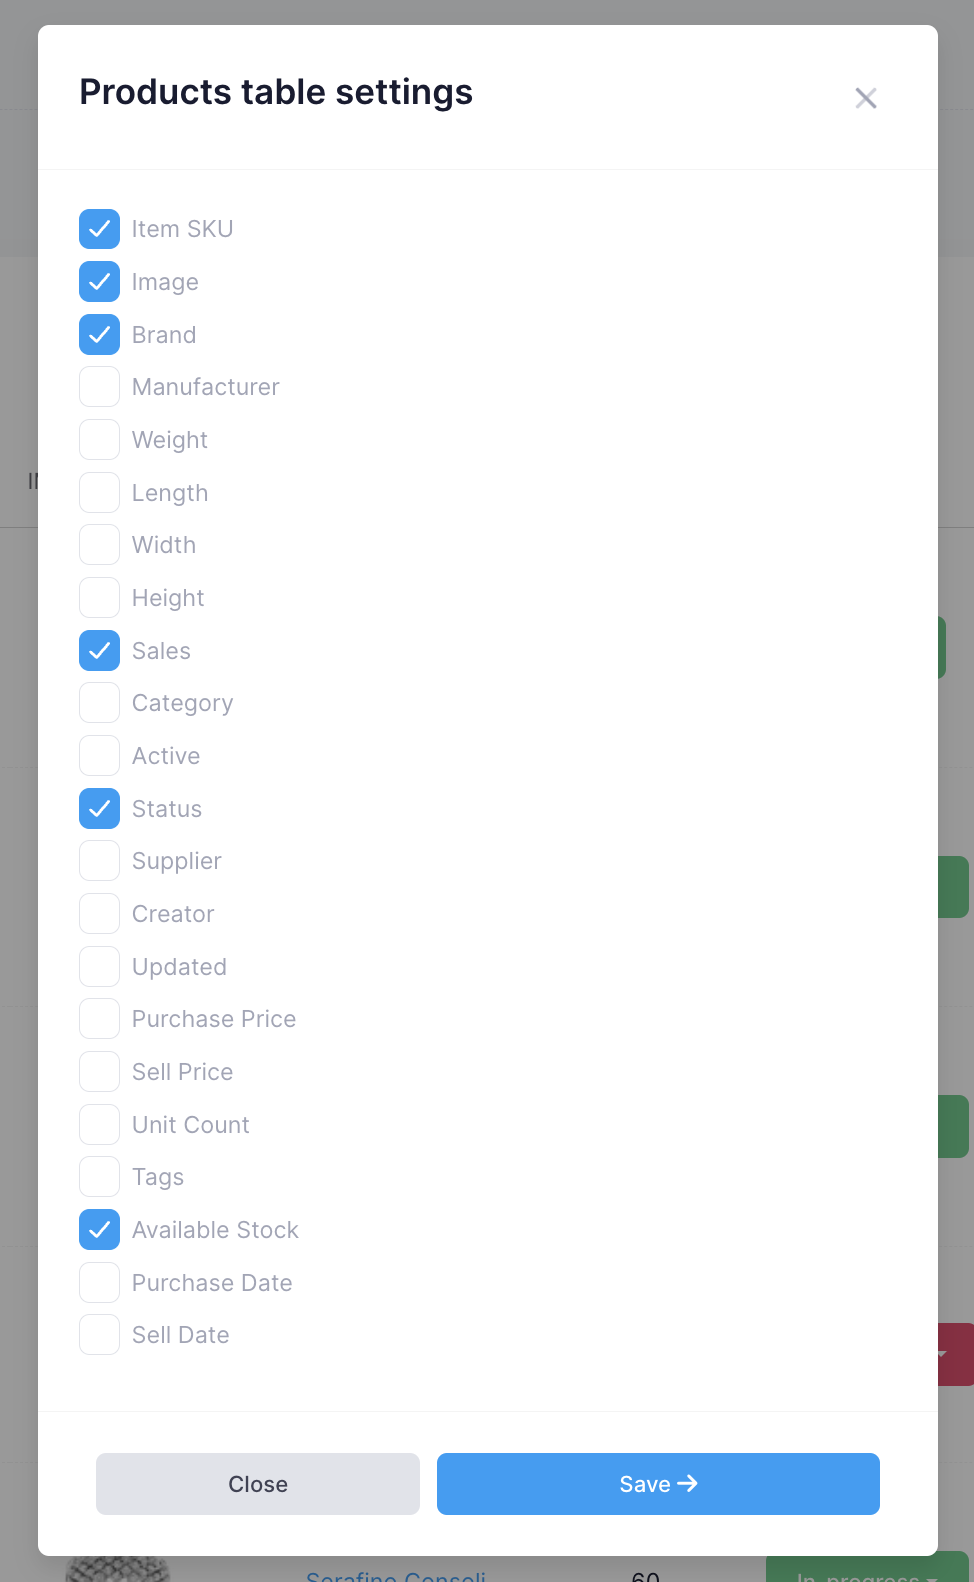
Click on the “Actions” button on the top-right corner of the List View.
Select “Table Settings.”
From the settings dialog, you can activate or deactivate columns like Manufacturer, Weight, Category, Supplier, Purchase Price, Sell Price, Unit Count, Tags, Purchase Date, and Sell Date based on your requirements.
6. Creating a Product#
To add a new product to your inventory, you’ll need to fill in certain details to help uniquely identify and categorize the item. Follow these steps to create a new product:
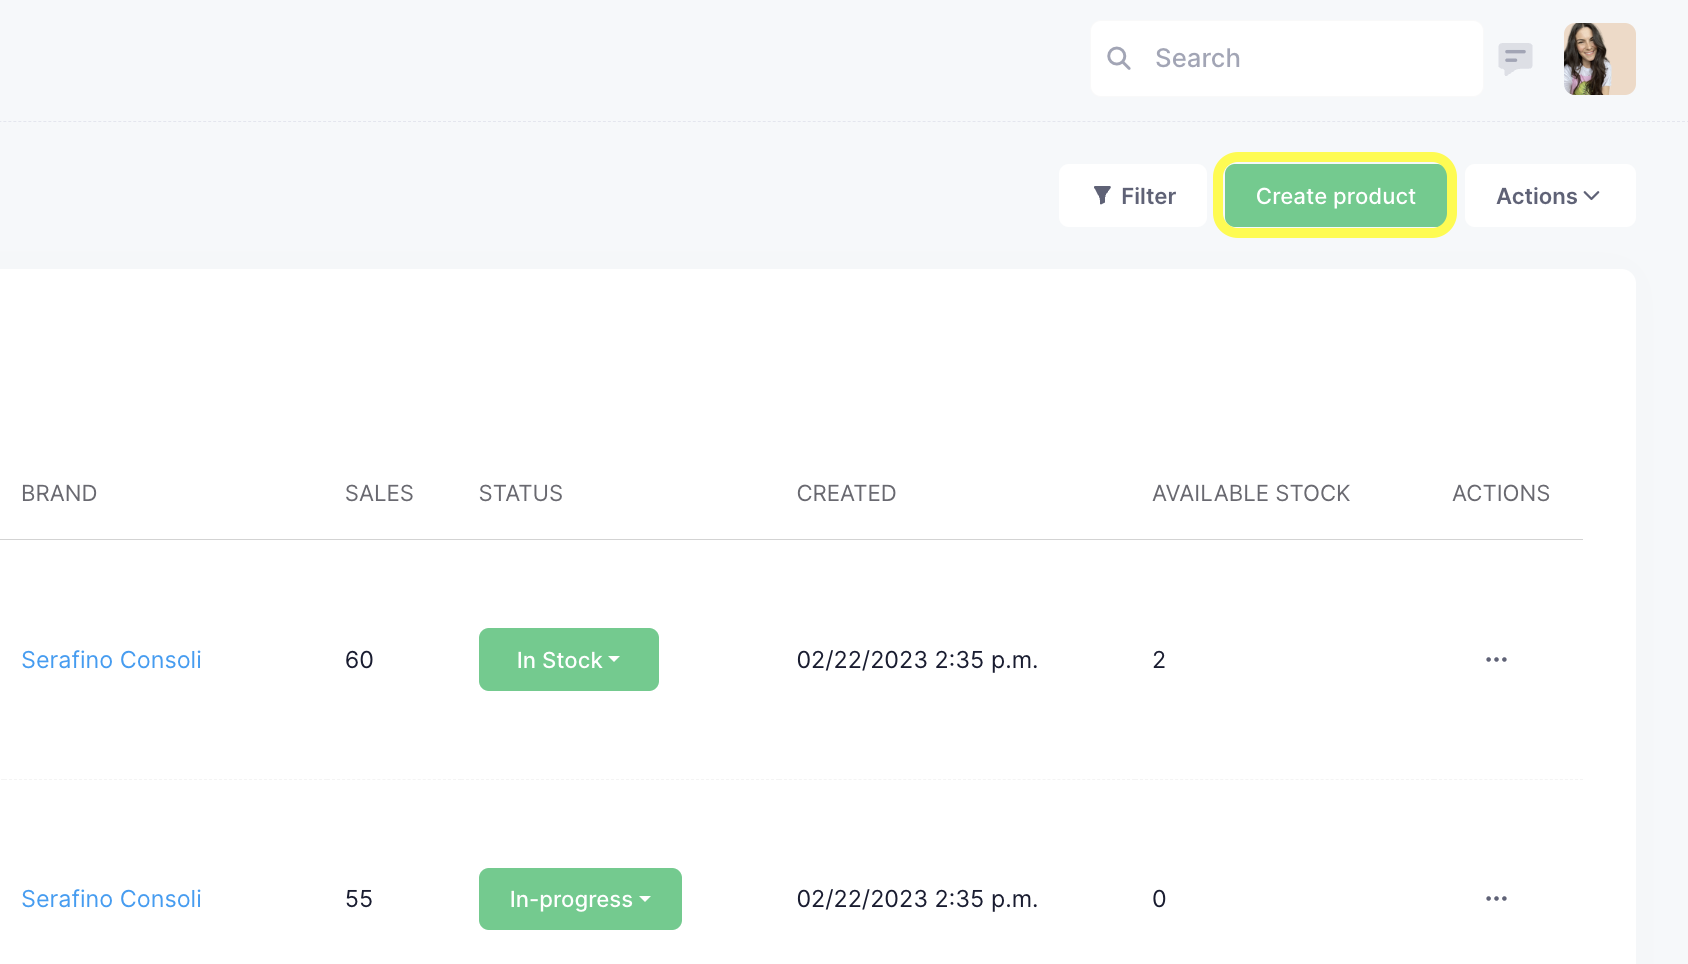
Click the “Create Product” button usually located at the top-right corner of the List View.
A pop-up window will appear, requesting the following details:
Item SKU: An SKU, short for “Stock Keeping Unit,” is a unique number combination used by retailers to identify and track products.
Category: Choose the category that best fits the product you’re adding.
Brand: Input the brand associated with the product.
Supplier: Indicate the supplier of the product.
Supplier Reference: Add a supplier-specific reference if available.
Purchase Date: Indicate the date when the product was purchased.
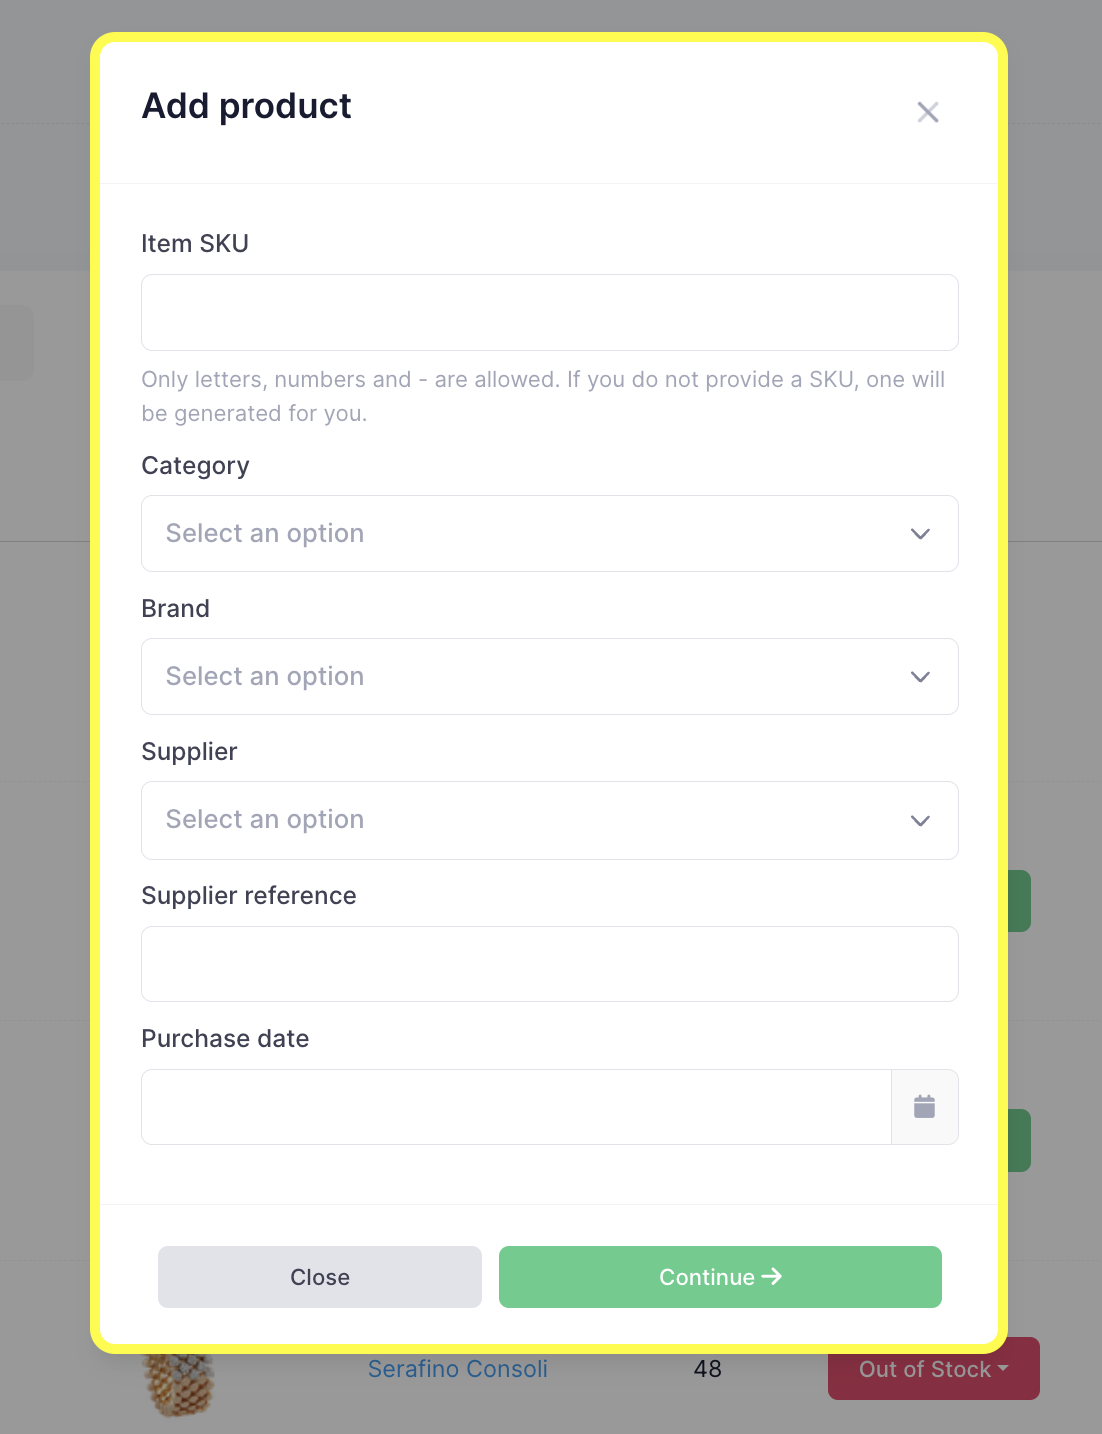
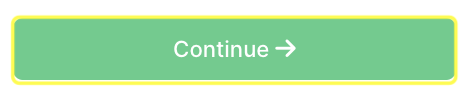
After filling in all the required fields, click the “Continue” button to finalize the creation of the new product.
Now, the new product should be listed in your inventory and be visible in the Products List View.
Product Detail View#
Accessing the Product Detail View#
To access the Product Detail View, click on the blue SKU name of the product in the List View.

Overview#
Once you’re in the Product Detail View, the name of the product appears on the upper-left part of the screen. Below it are various tabs: Details, Costs, Images, Descriptions, Inventory, Pricing, Marketplaces, and Sales. Each of these tabs provides different functionalities and information about the product.
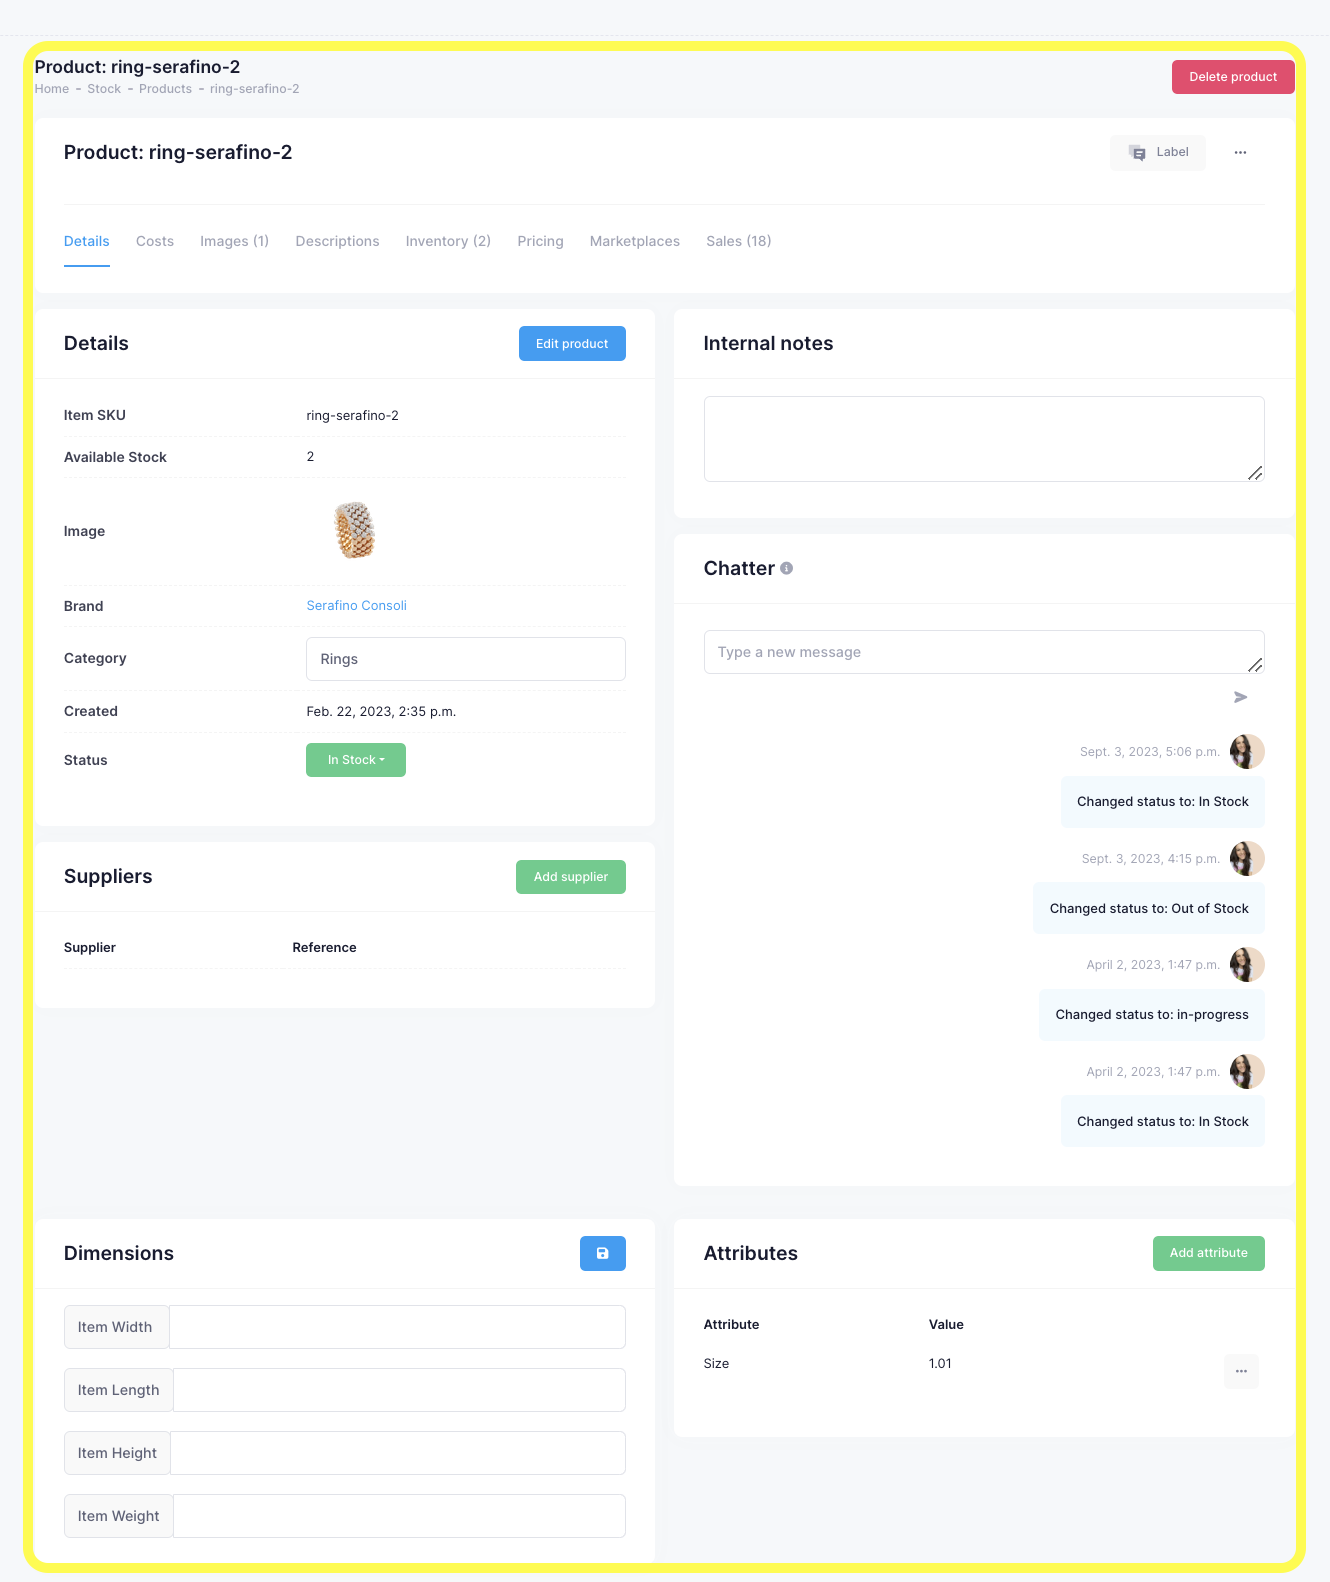
Details Tab#
The Details Tab is the default view and provides an overview of the product. It is divided into several blocks:
Details: Here, you can add, remove, or edit the information initially entered during the product creation process. You can also change the product status.
Suppliers: Allows you to add one or multiple suppliers for the product.
Internal Notes: These notes are for internal use and won’t be displayed to the customer on any documents.
Chatter: A chat area where you can leave comments or chat with colleagues.
Attributes: Add or customize attributes like size, cut, and clarity of the gem.
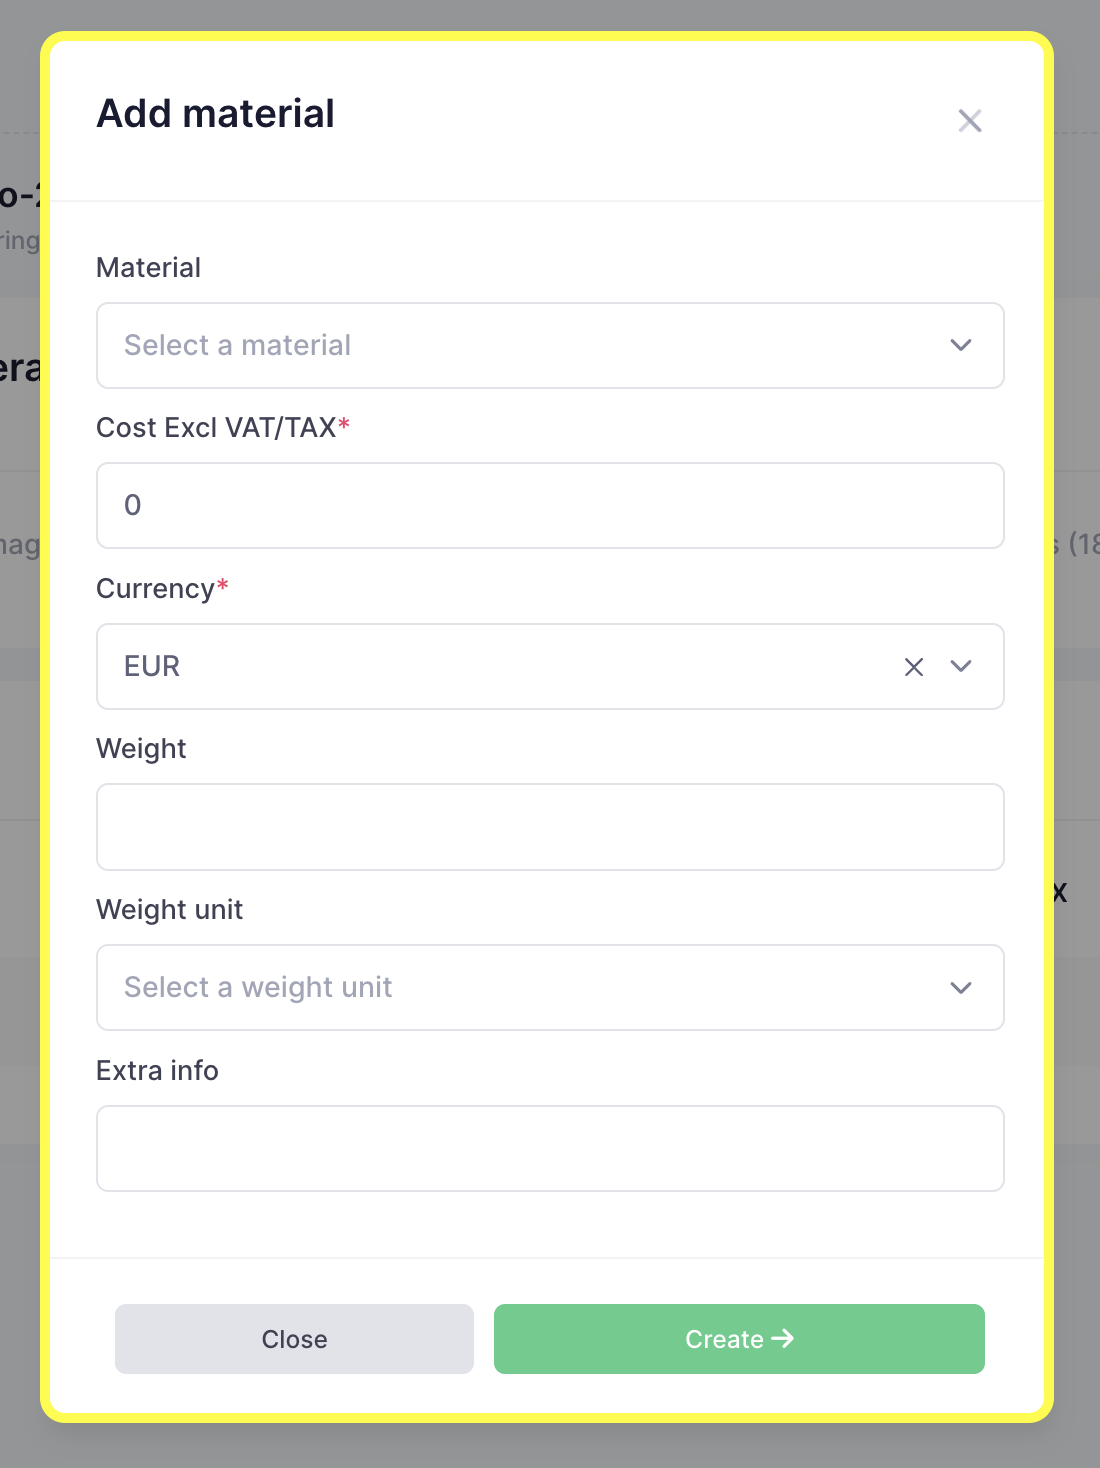
Costs Tab#
In this tab, you can add material costs to the product. To add a material, click on the “Add Material” button. A pop-up will appear requiring you to enter material details like type, cost excl VAT, currency, weight, and extra information.
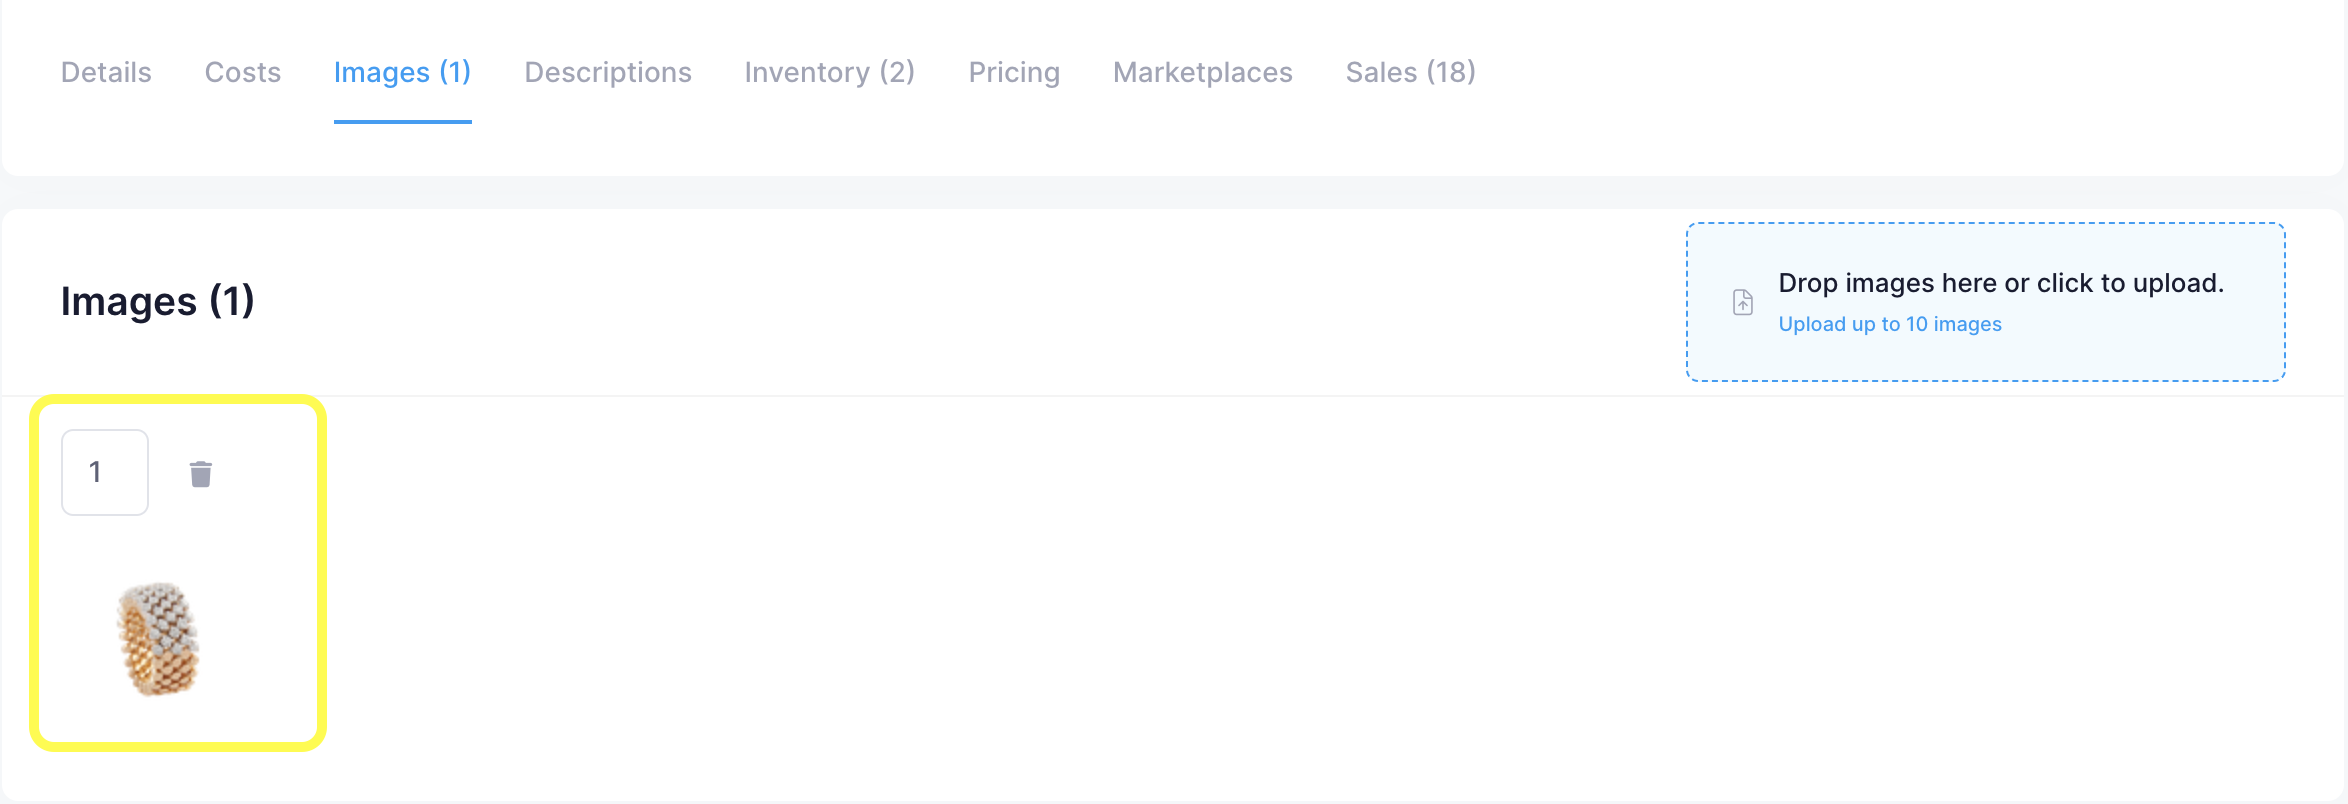
Images Tab#
You can upload images through drag-and-drop or by selecting the file(s) you wish to upload.
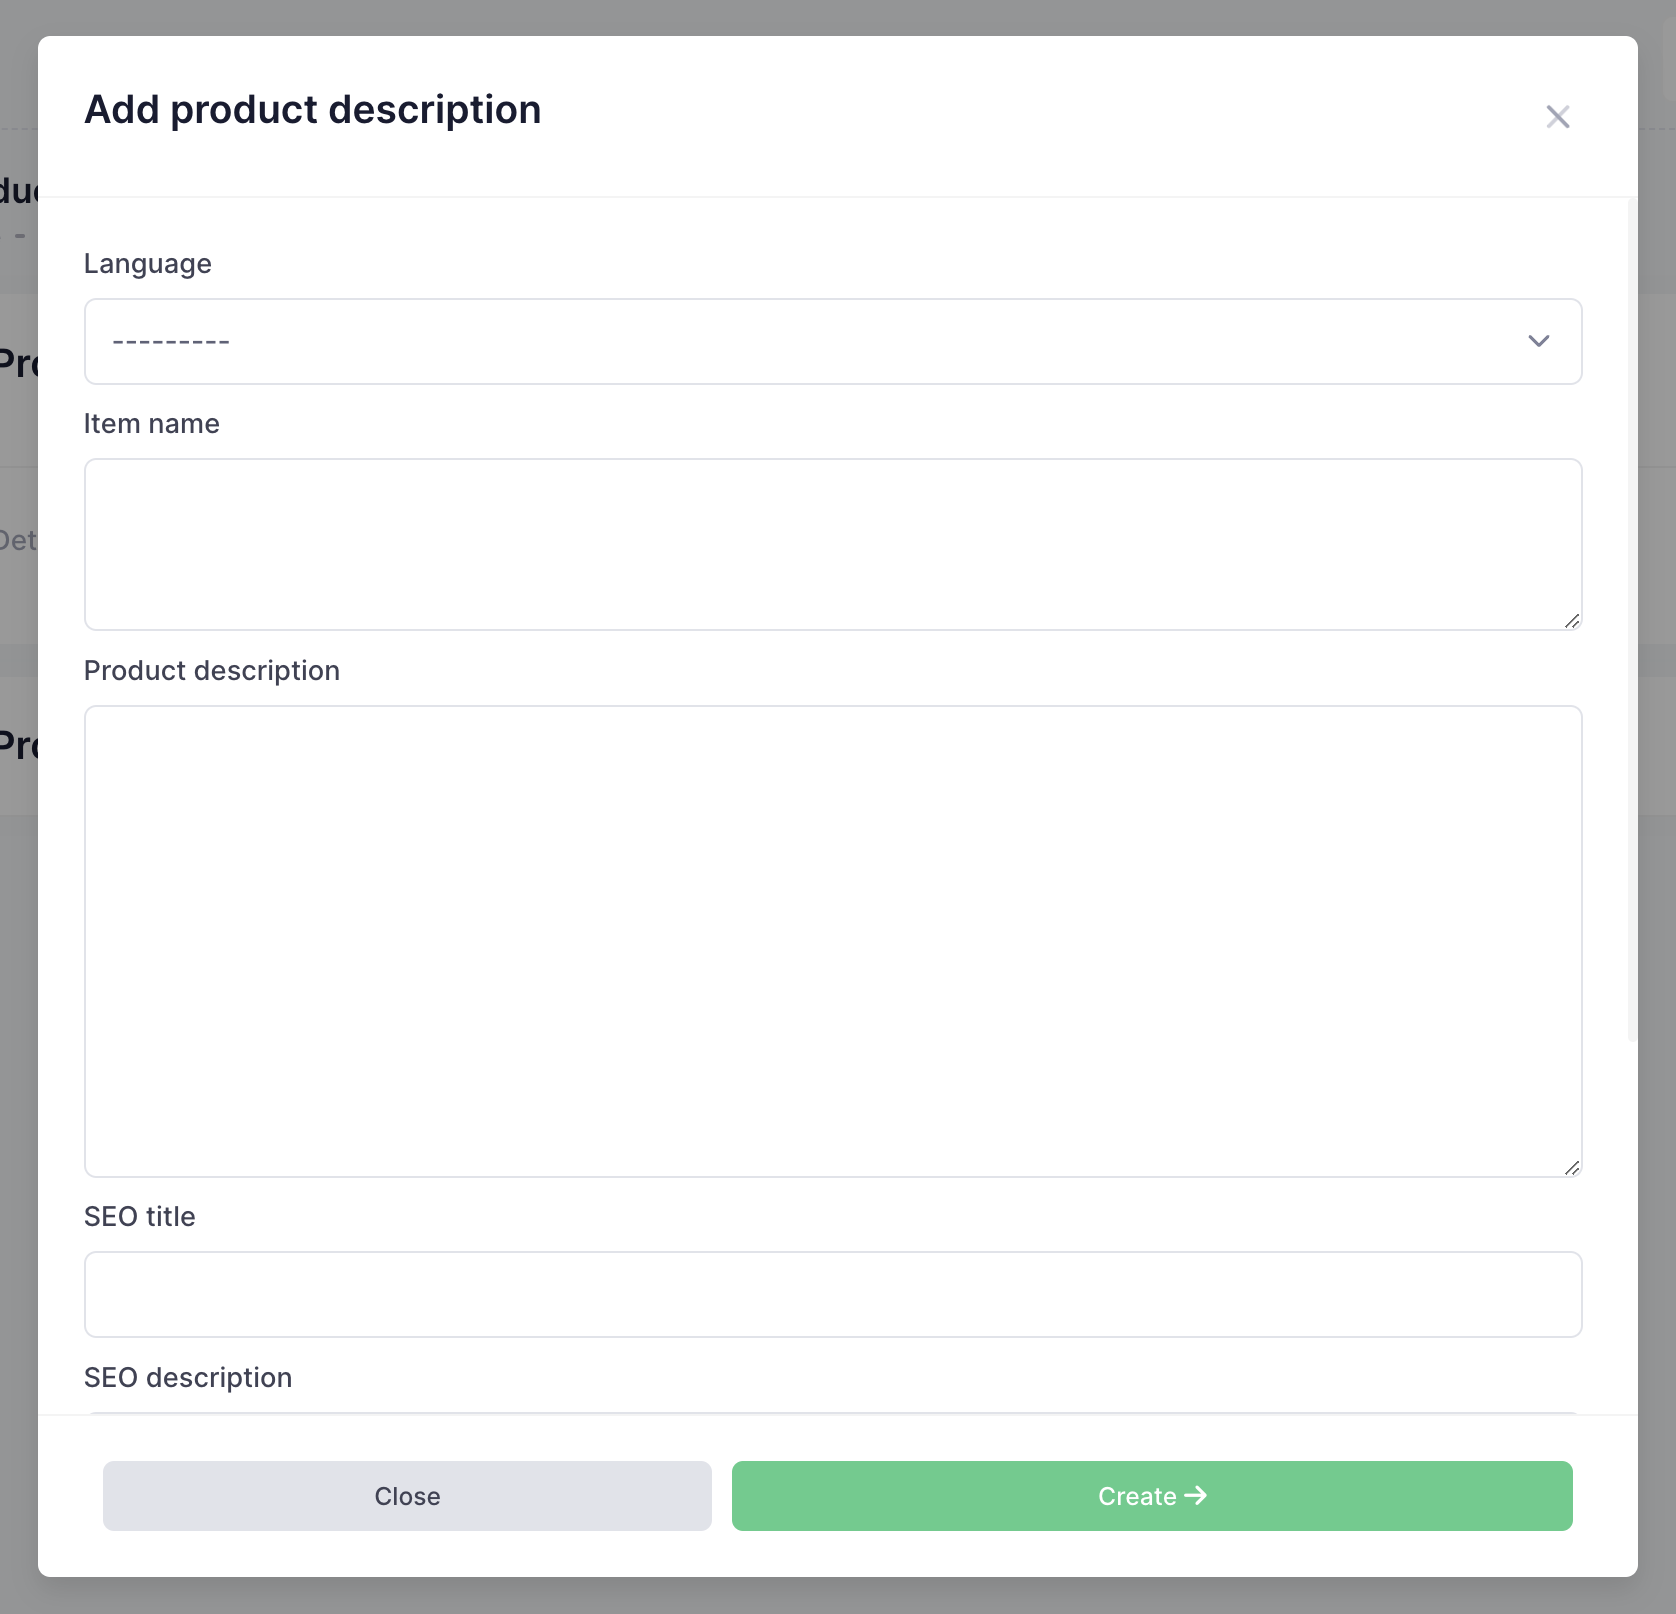
Descriptions Tab#
In this tab, you can add an item name and product description. This is useful for website integration. Additionally, you can set an SEO title and SEO description for better web visibility.
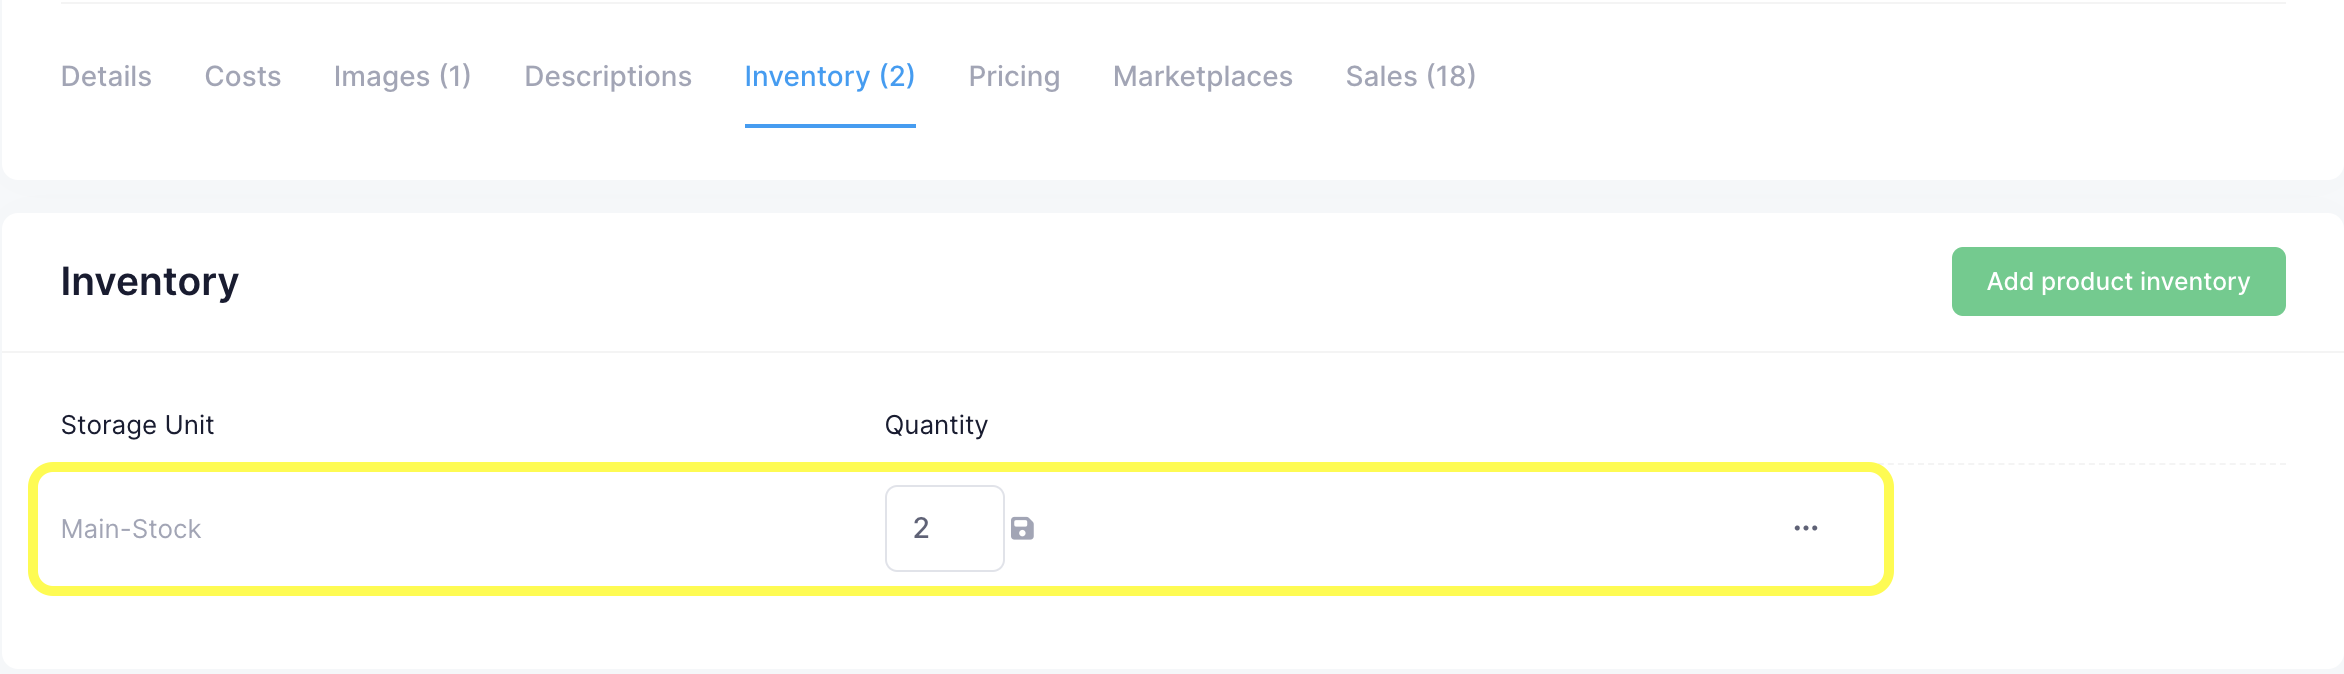
Inventory Tab#
Here you can manage the product’s inventory and select the appropriate storage unit.
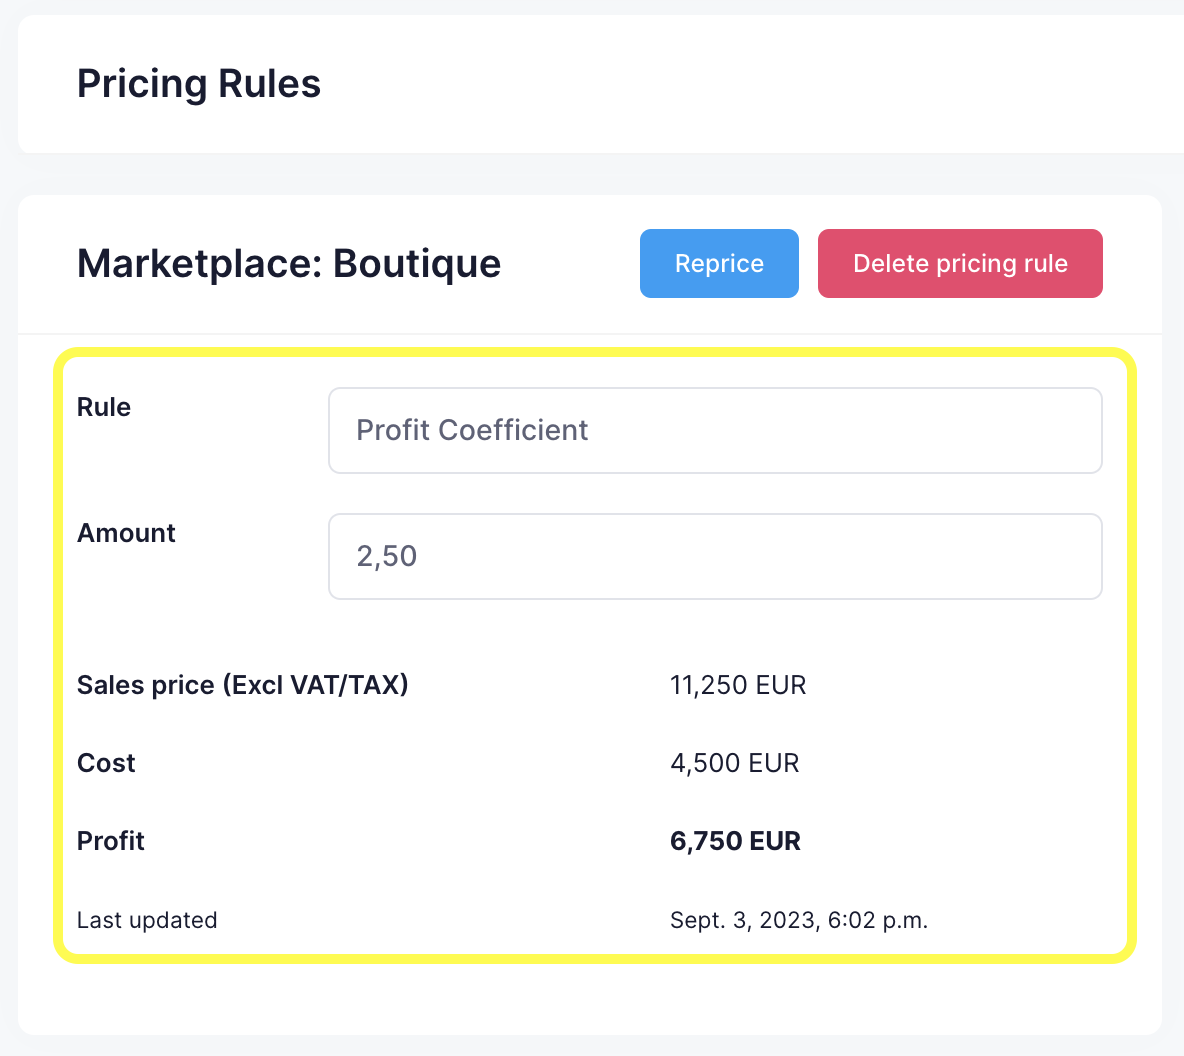
Pricing Tab#
In the Pricing tab, you can set the sales price based on either a fixed price or a profit coefficient, which will calculate the profit based on the product’s costs.
Marketplaces Tab#
[Information to be added later]
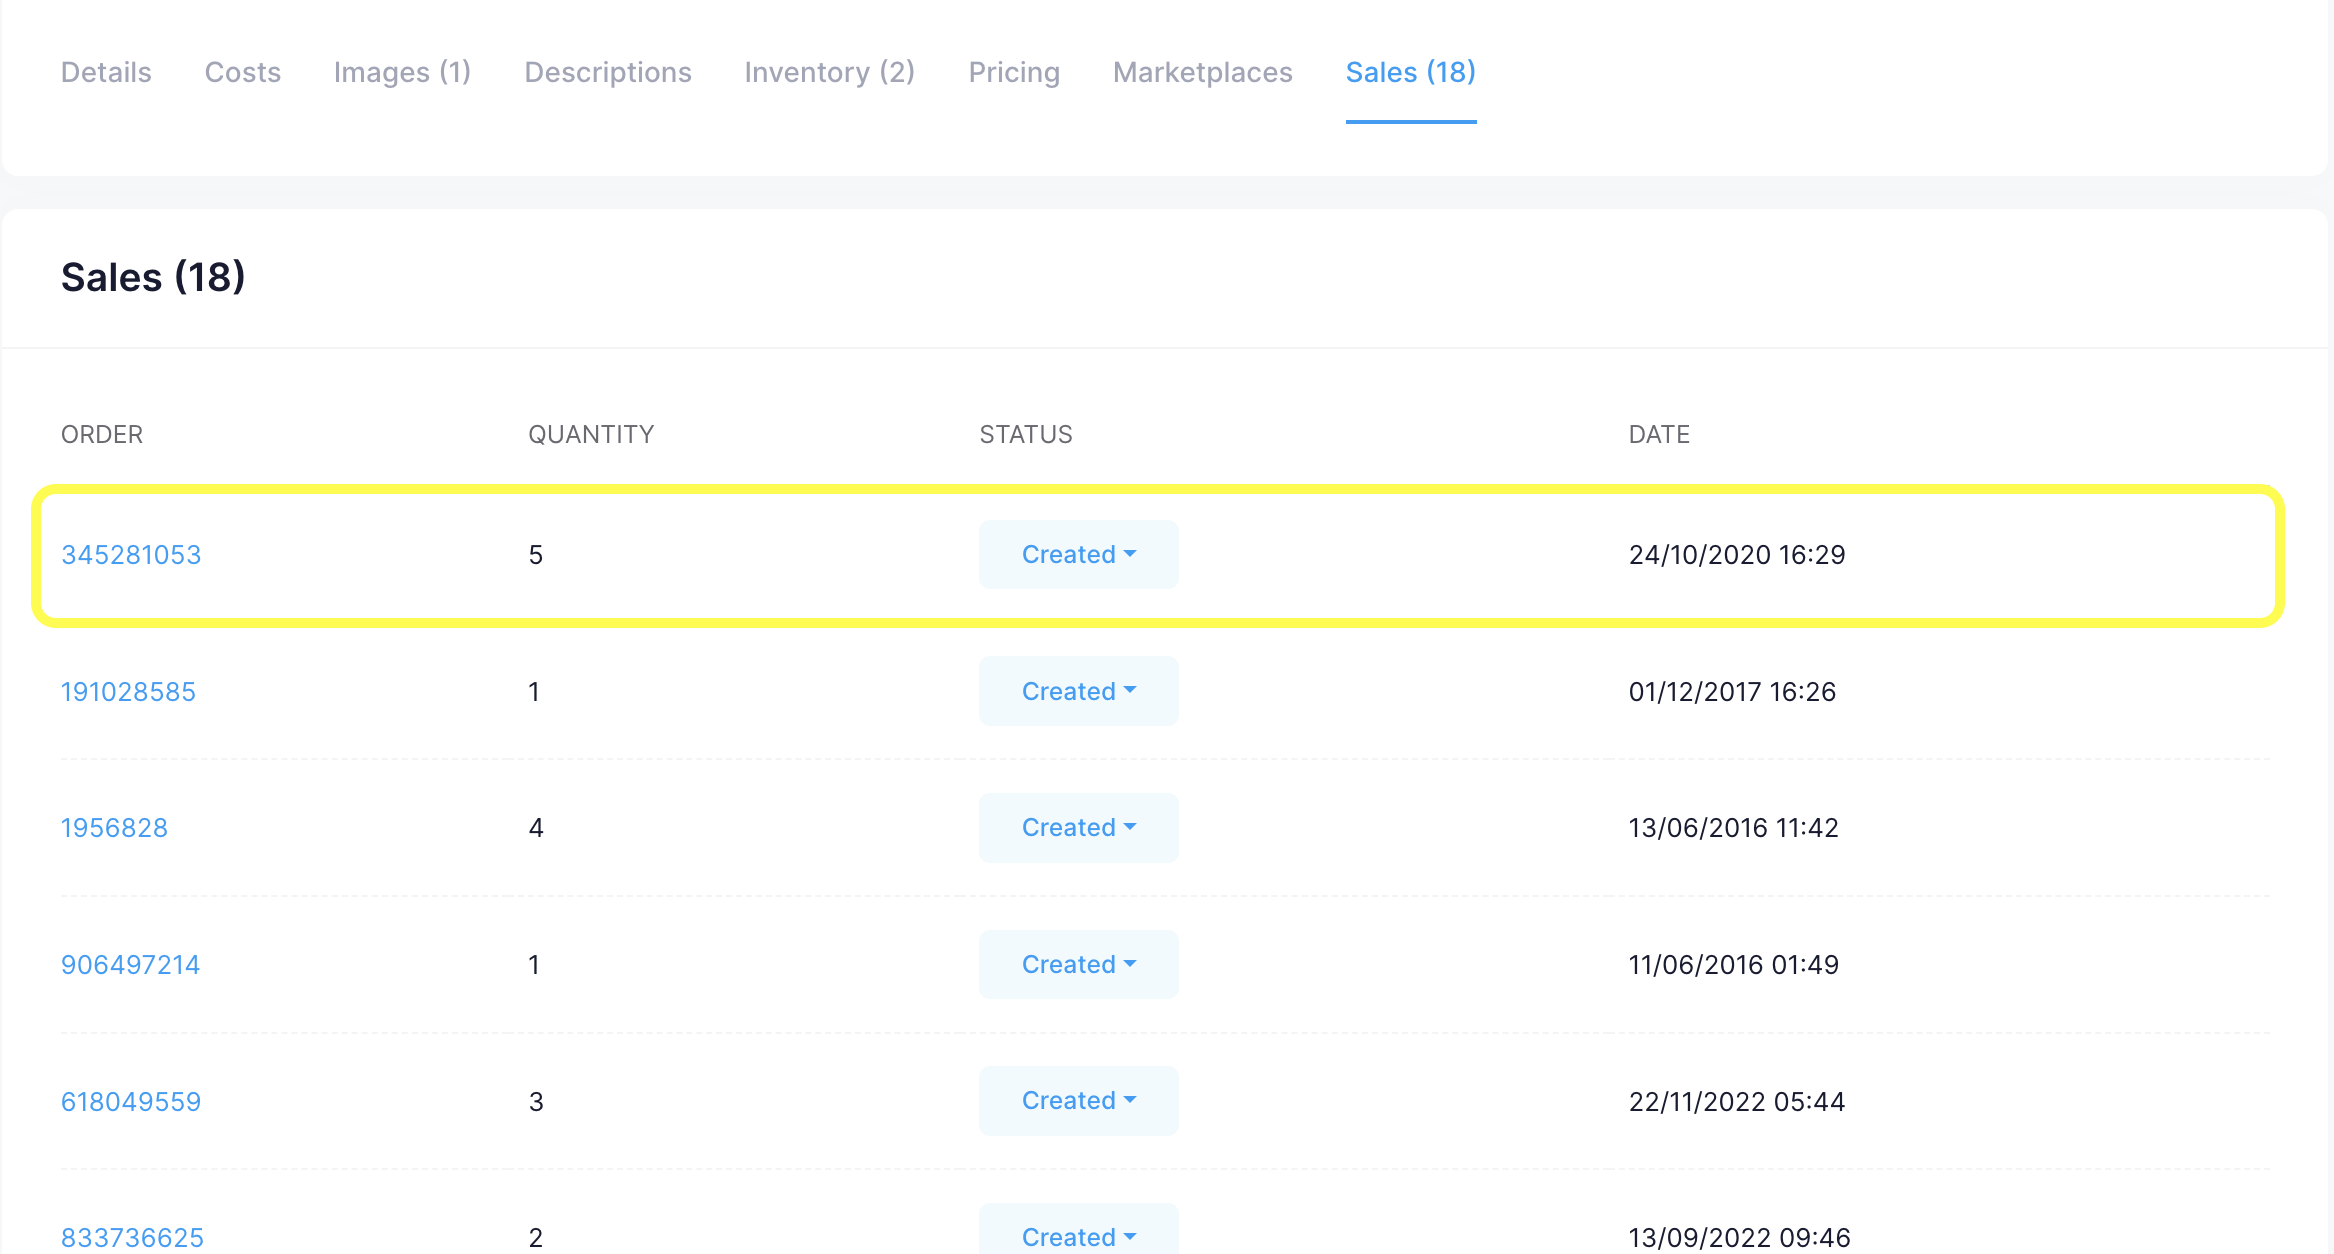
Sales Tab#
The Sales tab lists all the orders containing this specific product, showing quantities, dates, and order statuses.